Monday, January 27, 2014

Shirred eggs

How about some breakfast? I love eggs for breakfast. When I had a range, I would make a fried egg sandwich, or scrambled eggs for breakfast pretty much every day of the week. Yummm! I'm still working on how to do those without a range, though. What I can do now is make shirred eggs.

Oooh! Fancy! I love saying I make shirred eggs. It makes me feel classy. This is a super simple egg dish, and tastes so much more amazing than you'd think when you read the recipe.

Shirred eggs is another way of saying baked eggs. The basic recipe is 2 eggs, some heavy cream or milk, some cheese, and some add-ins. 

These ramekins are approximately 6 ounces each.


Butter your ramekin - making sure to get the sides.


If you have ham, Canadian bacon, or prosciutto put that on the bottom.


Add the milk or cream (I used 2% milk to make it slightly healthier)


 Crack 2 eggs in to the ramekin. 

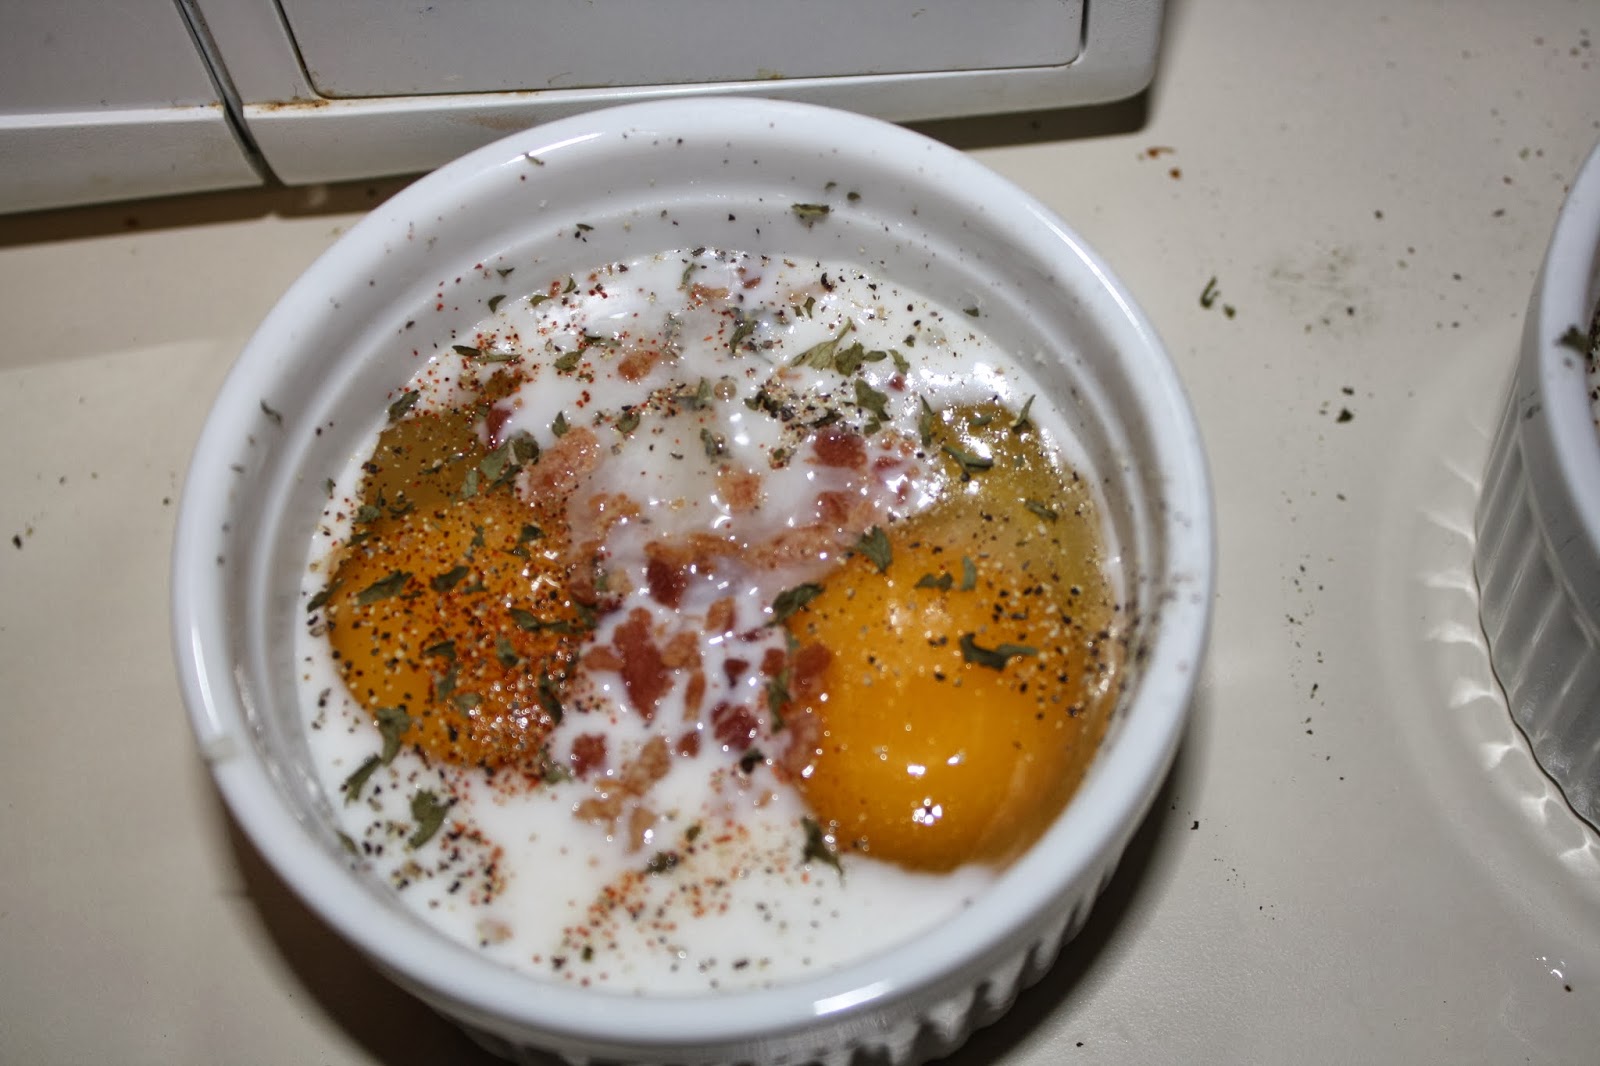
The milk will sneak up the sides and hug the eggs.

Add your spices and toppings.

I added salt, pepper, parsley, and paprika...

...then I added bacon bits...

... and to top that all off, shredded cheddar cheese!


Next, bake your eggs at 325 °F for about 30 minutes until the eggs are just set. Make sure to keep an eye on the toaster oven, as each one varies. Your cooking time may be longer or shorter than mine.


I like my yolks firm, so if you prefer softer yolks, you'll want to bake for a shorter time.

And there you have it! Breakfast.

The finished product.


The full recipe (below) is for 4 servings. Baked eggs will keep for a maximum of 4 days in the fridge. 

If you plan to bake ahead, like I did, you'll want to under-bake your eggs a bit so that when you microwave them they won't be rubbery. I've found that 20 seconds at a time in the microwave until the eggs are warm does well.


Shirred Eggs

1 T butter or margarine
6 tsp heavy cream or milk, divided
8 eggs
salt & pepper to taste
paprika to taste
parsley to taste
4 T grated cheese, grated


Preheat the toaster oven to 300 °F.

Rub inside 6 ounce ramekin with butter. Coating bottom and sides.

Pour 2 tsp into each ramekin.

Crack 2 eggs into each ramekin.

Add salt, pepper, paprika, and parsley to each ramekin.

Add cheese to each ramekin.

Bake for 20 minutes or until eggs reach desired level of done.


Thursday, January 23, 2014

Crockpot chicken and dumplings

One of the first things I made was a crock pot meal. Gotta start off easy, right?

It turned out absolutely tasty! One commenter on the original site said that it tasted more like chicken pot pie. I'll agree with that.


Photo cred: Jenn Sill, http://bit.ly/1mtH70U

When I got to the step about making the roux - melting the butter in a saucepan and adding the flour and other tasty bits - I improvised. I melted the butter in the microwave and added the stuff to it. I didn't have everything ready to go, so the butter cooled a bit. This caused lumps of flour. Next time, I'll have the roux fixin's ready!

My dough balls ended up being slightly over-done, so following the instructions on that is key.

I got about 6 servings out of this recipe. I portioned them out into plastic containers, then popped them in the freezer. My commute is every bit of 2 hours, so I just toss a container in my bag and then put it in the fridge when I get to work and it's thawed enough to reheat for lunch.

Here's the original recipe, from the blog, Her View From Home:

http://herviewfromhome.com/crock-pot-chicken-n-dumplins/

Wednesday, January 22, 2014

How it all began

I live essentially by myself. As many know, most recipes feed a small family. I started figuring out how to alter recipes for a single person. Then things changed.

A few months ago, I had to move for a new job. My little apartment came with a kitchen, but no range (oven/stove). What's a gal who loves to cook to do? With a few small appliances, I am beginning to find ways to cook for myself again. 


My toaster oven


I have in my kitchen a small fryer, 2 crock pots, a toaster, a microwave, and a toaster oven. 

My small fryer


I invite you to come with me in this grand adventure of cooking with only small appliances. Here, you'll find the recipes I've tried - some successful, others failed. Sometimes, you have to get pretty creative with the set up. 

I don't know how long this experiment/adventure will last, but please join me for the ride!